Basic Italian Phrases For Travel

Phrases in Italian you must learn before going to Italy If you plan a trip to Italy, learning basic Italian sentences will help you better navigate any situation and round […]
Phrases in Italian you must learn before going to Italy If you plan a trip to Italy, learning basic Italian sentences will help you better navigate any situation and round […]
Why Solo Travel at 50+ is the best gift for your health Let’s make 2025 the best year that transforms your life and travels! Are you ready to say yes […]

Are you 50+ and want to travel solo in 2025? Here is how to enjoy the benefits of a solo travel experience. A short-term trip to safe cities will allow […]

If you are a woman over 50 and travel solo to Europe, you can have many experiences as a solo traveller. Yet, besides cultural destinations, there is a wealth of […]
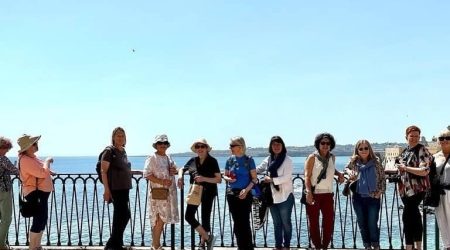
Stop waiting for others to join you on your travels! Do this instead: Start exploring with like-minded travellers over 50.

At the end of my volunteer experience as a Wildlife Warrior, I had the chance to visit the Australia Zoo, see its unique animals and learn about the many wildlife conservation […]

House sitting in Australia can be a great way of keeping the cost of staying and travelling to a minimum. It implies caring for a house and pets while the […]

Solo Travel is one of the most empowering experiences you can do at any age. But Solo Travel at 50 plus is even more empowering. Over the past 25 years, […]

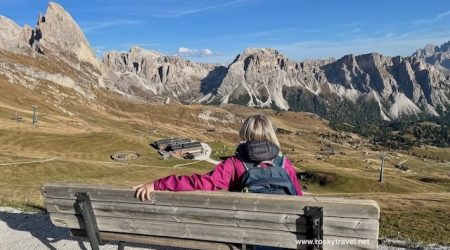
If you’re considering how to travel from Venice to the Dolomites, I’m here to help you. I live about halfway between Venice and the Dolomites, and I’ve been to both […]
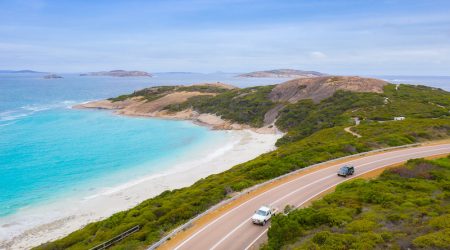
A Guide to the Great Ocean Road Trip I first visited the Great Ocean Road on a 3-day tour on my first backpacking trip in 2004. A few years later, […]

If you plan a trip to the East Coast of Australia, Brisbane will likely be on your itinerary. Located halfway between Sydney and the Whitsundays Islands, Brisbane is the capital […]
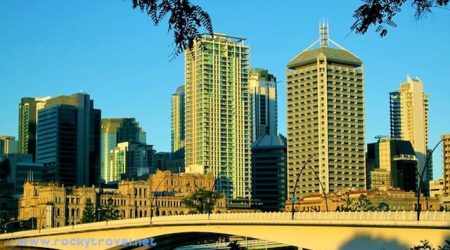
Brisbane, or Brissi, as the locals call it, is the capital city of Queensland, a.k.a. the Sunshine State. It is often overlooked by travellers who prefer heading to the nearby […]

A New Zealand’s South Island Trip by Campervan New Zealand’s South Island offers unparalleled natural beauty and unique cultural and outdoor experiences that bring peace to the heart. It is […]

When it comes to make a travel plan and figure out all travel expenses for travelling to Australia, Public transport is also something you need to include in your budget. […]

Vivid Sydney is one of the top Australian Festivals and one of the world’s largest outdoor festivals. In my opinion, the most exciting arts festival I have ever seen. It […]